Media library
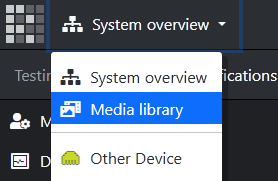
In Remote CMS, "media" refers to any image (or, if compatible, video) files that have been uploaded for use in displays. To manage your media library, select "Media Library" from the context dropdown menu at the top left of the page:
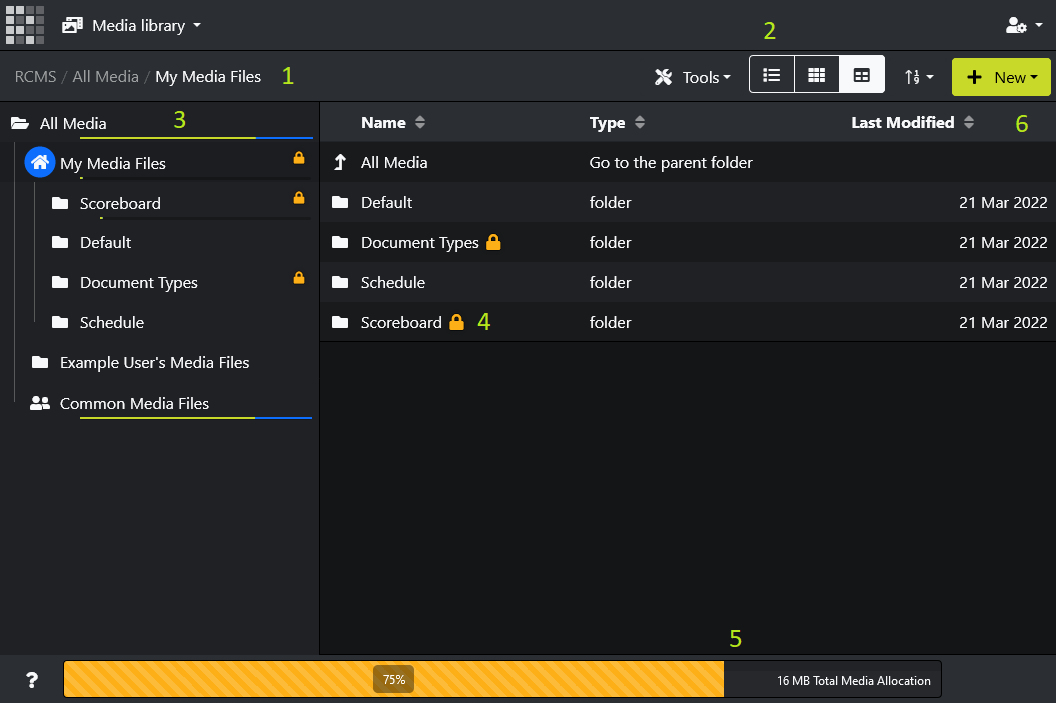
Media files are organised into folders. Each user has their own folder, and there is also a "Common" folder that is accessible to all users.
- The selected folder is indicated in the breadcrumb at the top left of the page.
- Media can be displayed in a list, a grid of icons, or a table; and sorted as required. Use the display style tools at the top right of the page to select how they should appear. Group administrators also have access to the "Tools" menu. See the section "Media Tools" for further information.
- The sidebar shows the structure of folders that can be accessed. Left-click or tap the folder on the sidebar to navigate to that folder. Two coloured bars are shown beneath each folder in the sidebar to indicate what percentage of the media allocation is found in that folder. The green bar indicates how much of the total available media allocation is held in that folder, while the blue bar indicates how much of the total used media allocation that folder contains. In the above screenshot, the blue bar shows "My Media" contains almost all of the media in the group, while the green bar indicates that this media amounts to approximately 34% of the available allocation.
- Media appear with a thumbnail icon of the media file, the name of the file, and a description of the file. Media that is used inside a document are marked as "in use" with a icon, and cannot be deleted while it is still in use.
- Each account group on Remote CMS has a shared space allocation for media. How much of your allocation has been used is displayed here. Your media library allocation can be expanded by contacting the RCM Systems accounts department.
- To upload a media file, either click the "Upload file" button, or drag and drop a file or multiple files from your desktop into the media library.
- To create a subfolder in your current folder, click "Create folder". A folder name cannot be blank, and folder names must be unique.
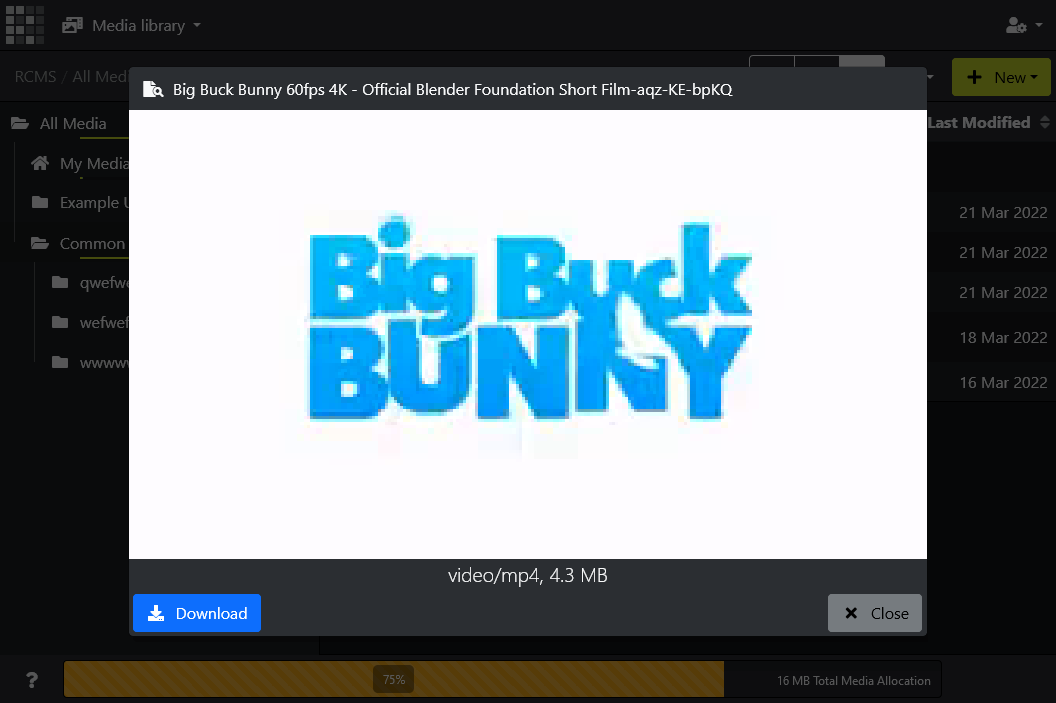
Left-click or tap a media file to show a full-size preview of the media file, which can also be downloaded:
Media Tools
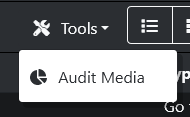
If there are a lot of media files that have been uploaded that are no longer used, especially when you are nearing your media allocation limit, there is an "Audit" tool to quickly and simply free up space. To access this tool, select "Tools" then "Audit media" at the top right of the screen:
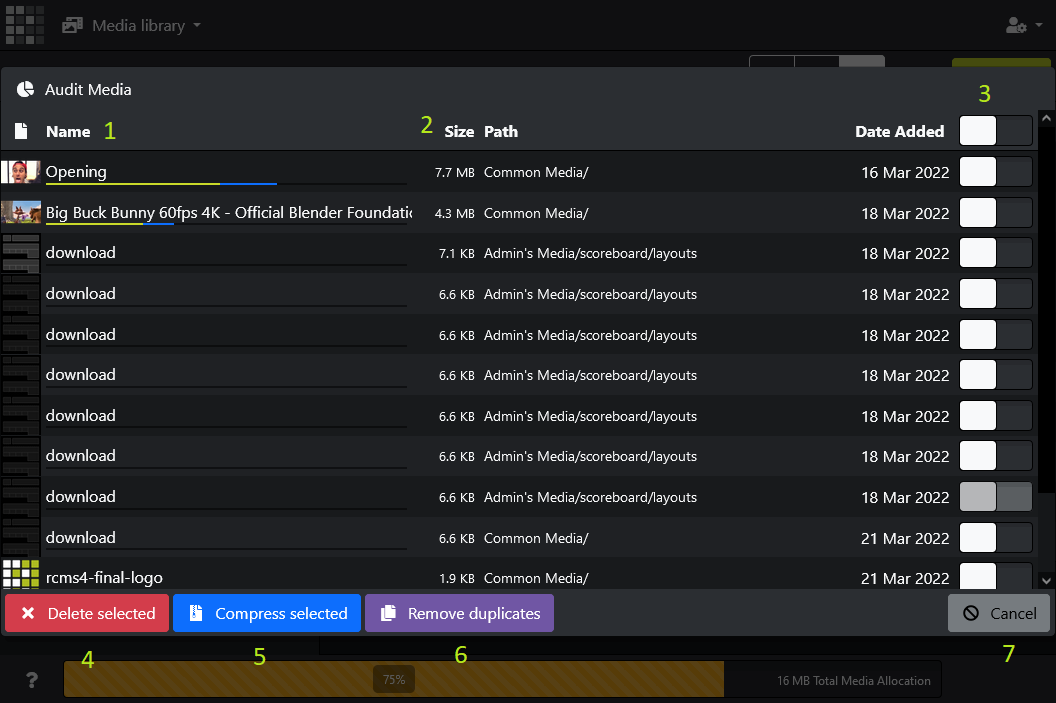
The media library audit tool displays a table of all media in the group, arranged from largest to smallest, displaying the relative size of each media compared to the total allocation (green) and how miuch of the allocation has been used (blue).
- Each media file is listed as a row in the table. Media that is "active" (as in, registered for display currently) has a green icon, while media that is locked (as in, is contained within a document, whether or not that document is currentply played) has a yellow icon. Locked media cannot be selected for auditing.
- The size of each media file is displayed, along with the folder path where the media is located, and the date the media was uploaded.
- To audit media, select from the toggle boxes at the rightmost column of the table. To select all (selectable) media, use the toggle box in the header row. Note that locked media cannot be selected.
- To delete all of the selected media, click "Delete selected". A confirmation prompt will appear, and if confirmed the selected media will be deleted completely, freeing up the total size of the selected media. This action cannot be undone.
- To compress all of the selected media, click "Compress selected". A confirmation prompt will appear, and if confirmed the selected media that can be compressed will be compressed using a preset configuration. See Media compression for further information. This action cannot be undone.
- Occasionally the same media file (e.g., a company logo image) can be uploaded multiple times, and each copy of that file takes up the same amount of space. Click "Remove Duplicates" to delete all but one of each duplicate file from the selected media.
- To close the media audit window, click "Close" to make no changes.
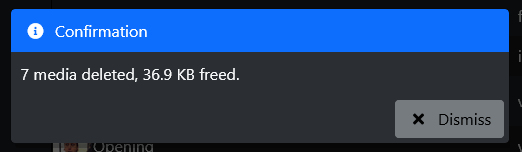
On a successful audit, a popup dialog appears indicating how much space has been freed, for example: